Preschool Center Schedule
Hi! As I’ve mentioned before, my daughter is in an amazing preschool program a few days a week. Recently I was chatting with her teacher, and asked if there was anything I could help with. I always try to offer assistance with organizing, cutting, sorting, etc.
They mentioned they have a few kids who would benefit from a super simple picture schedule…especially during center time. The teachers were hoping to support some of the students in extending their attention at centers. They’re able to choose their center, but they were hoping to have them stay at each center for 3-4 minutes before switching.
I created a super simple folder for them to use, and I hope it’s helpful to them and their students! I wanted to share the template in case this is something you could use in your classroom or with your own kids at home.
This post contains affiliate links. I receive a small stipend when people use my links before they purchase. However, I only link things I regularly use and love. I use these funds to keep this website up and running.
Make or Buy Your Folder
So I have a closet full of teaching supplies…and I didn’t have a single folder. I didn’t particularly want to go to Target, so I did my best DIY, ha!
I used 2 sheets laminated sheets of cardstock, and a strip of cardstock to make a pocket. I love my Scotch laminator and laminating sheets. It’s super easy to use, quick to heat up, and small enough to store in a cabinet.
If you plan to make more than one, I’d definitely recommend just getting a pack of folders. They can be used for so many things! If you got plastic folders like this, you wouldn’t need to laminate them.
Take Your Pictures
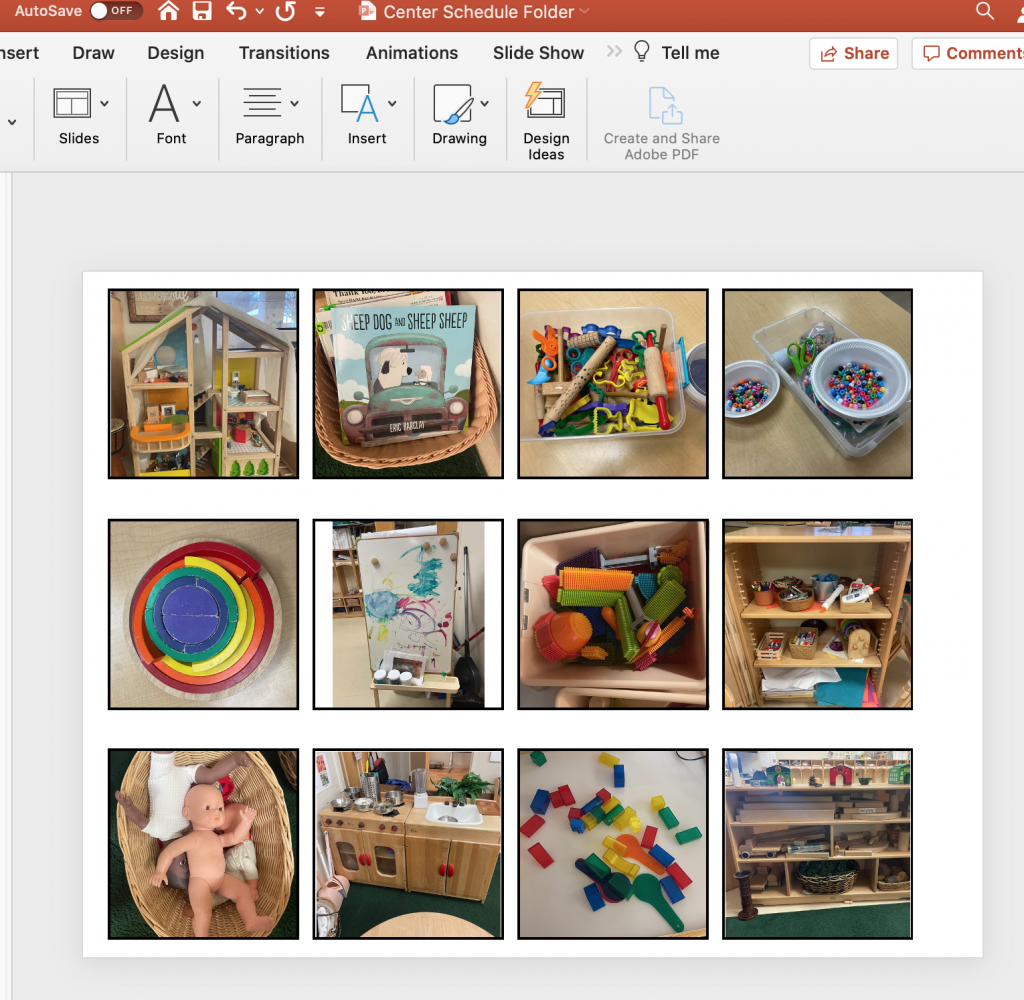
Because they wanted to use this intervention during center time, I just took some quick photos of their main center areas or types of centers. For example, they change the “fine motor” center out all the time…but I tried to get a picture that would be generic enough the preschoolers would understand. Don’t over think it! Also, once you have the template and the folder created, it’s super simple to add more photo cards!
Make Your Photo Cards
I chose to use squares that were 2×2 for my photo cards. They were small enough to have multiple beside each other, but big enough they can clearly see what each center is. You can get the template at the end of this post! I like to use a thick border around my pictures. It’s easy to cut, and I think it looks cleaner. But you could also get rid of the border, and just have the pictures!
Cut and Laminate
There’s a lot of controversy in the teacher world about cutting first or cutting after! If you think your students are going to use something ALOT, it’s probably worth cutting them out first, then laminate the cards, then cut again. I use tape the stick the small cards to the laminating pockets. If you don’t think the cards will be put through too much use, you should absolutely be able to just cut them once. (The only reason this is a problem is if you cut the paper after, the lamination might not seal well and will come apart.)
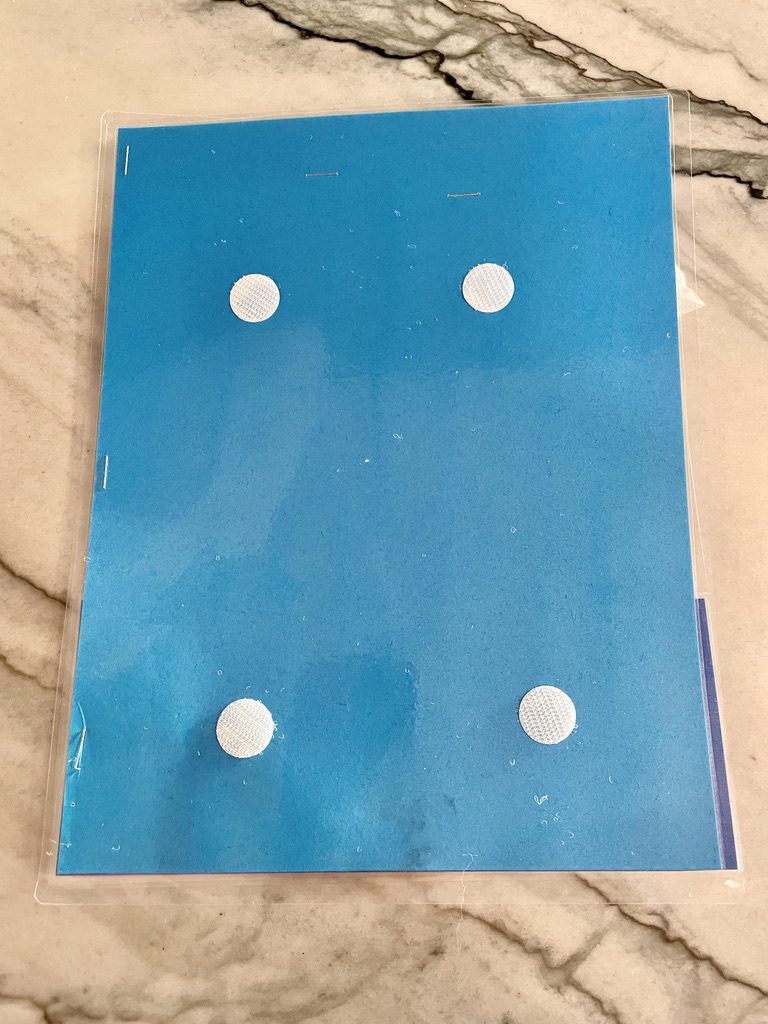
Add Velcro
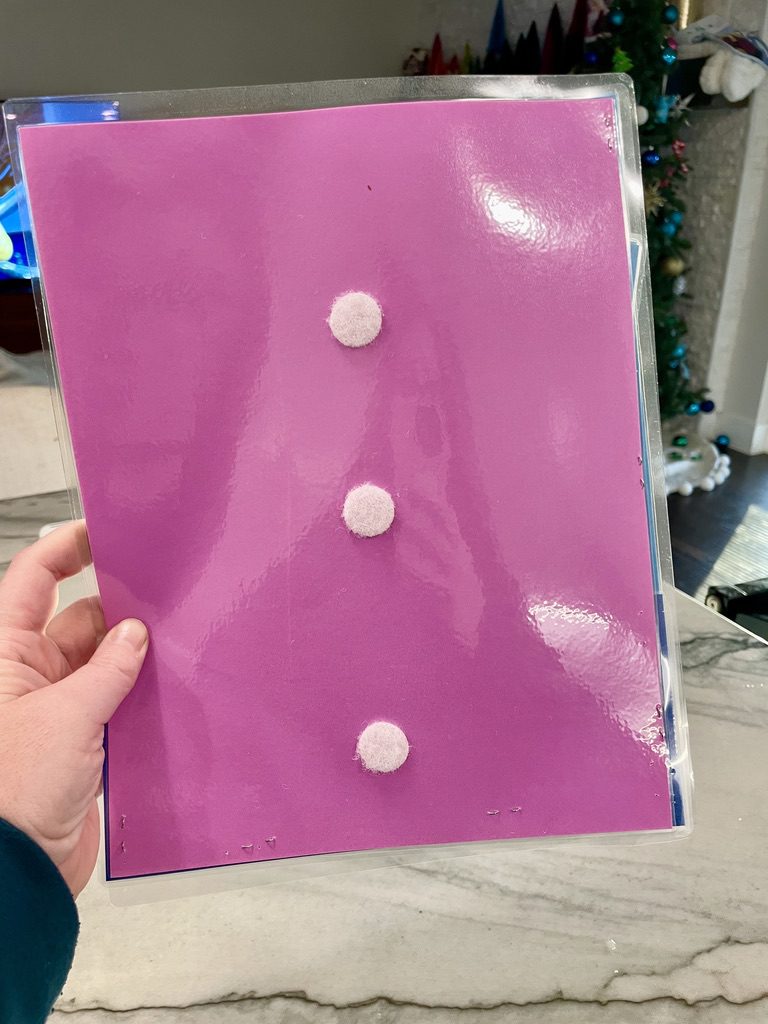
I recommend adding velcro to all the picture cards first. It helps to not get confused about which side to use! I pretty much always use the “soft” velcro on whatever will be moving/changing. Then I use the harder piece on the folder or whatever is NOT moving. This is my favorite velcro.
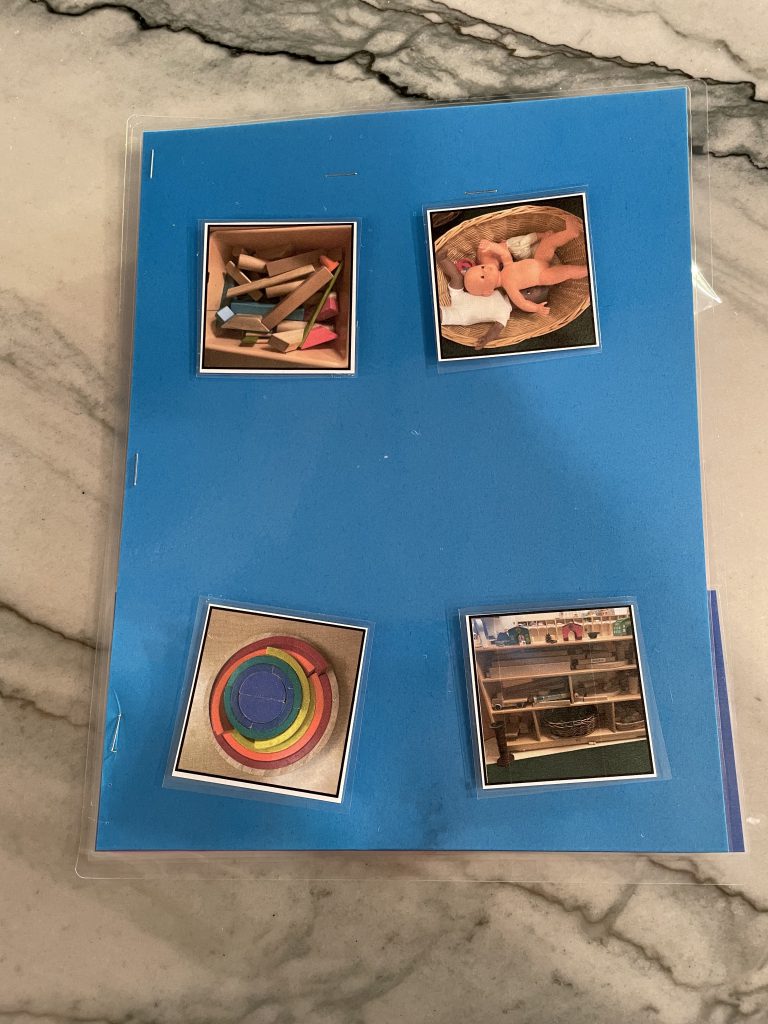
Center Choices on the Front
I chose to add 4 pieces of velcro to the front. I felt that was a good number for students to have choice without it being too overwhelming. You could easily add more or less depending on your needs. The teacher can quickly switch these out whenever the centers change, or if have less to chose from.
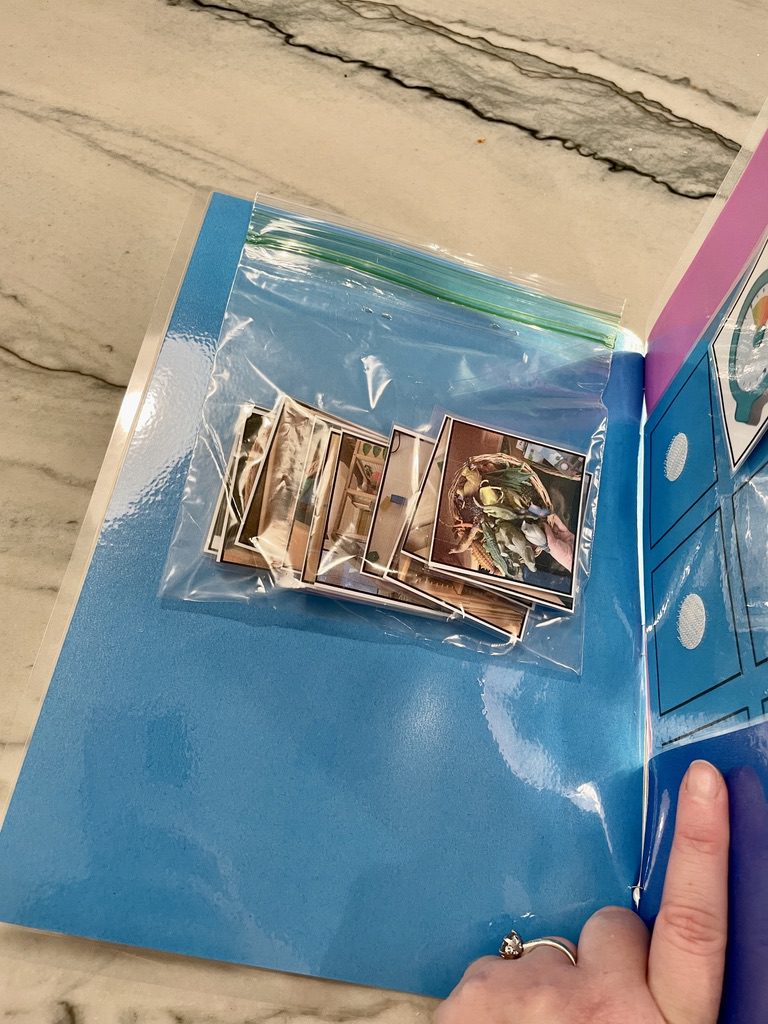
Card Storage
I stapled a small ziploc bag to the inside of the folder. That is the ONLY way something like this would work for me. I assumed her teacher would appreciate this too! If the cards aren’t attached to the folder, I lose them, hah!
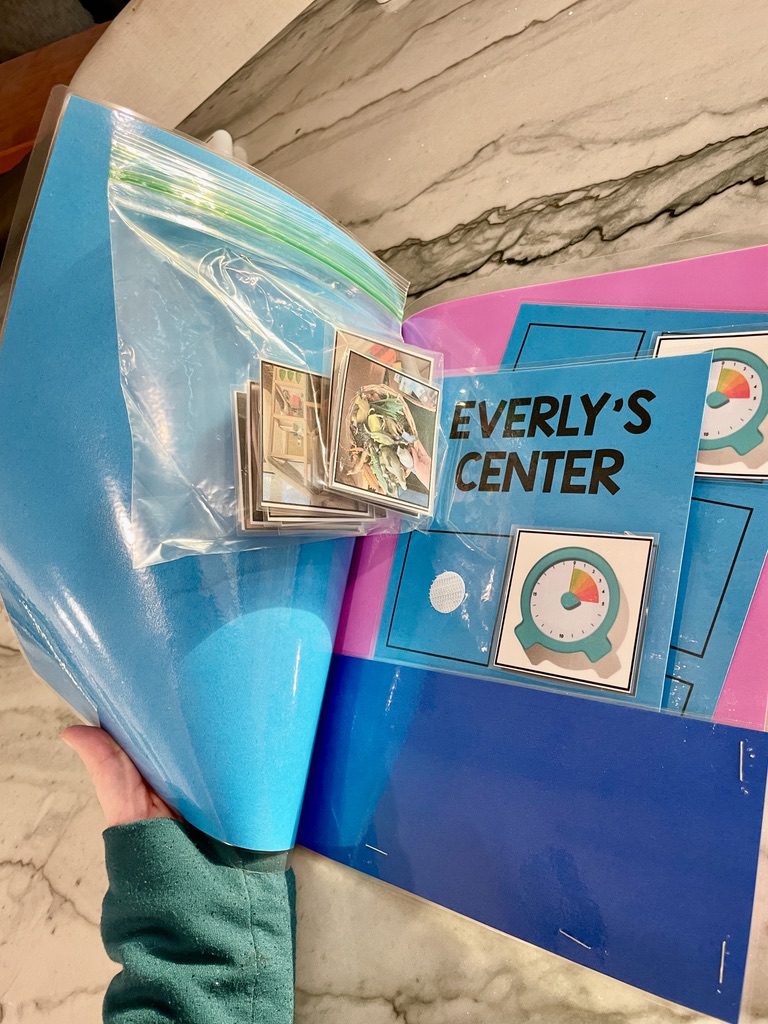
Choice Card
I chose to put the “choice card” on the back of the folder. You could also just print on the actual paper/folder if that works better for you. I wanted them to be able to use it with different students who had different needs. I used my daughter’s name, but the template is editable so you can change it to suit your students or child!
For students who need the most support, you might consider just letting them chose one at a time. They’ll chose their center, and wait for the timer to go off. After the timer goes off, the teacher can quickly meet with them to choose their next center. (This is just a laminated half sheet of cardstock.)
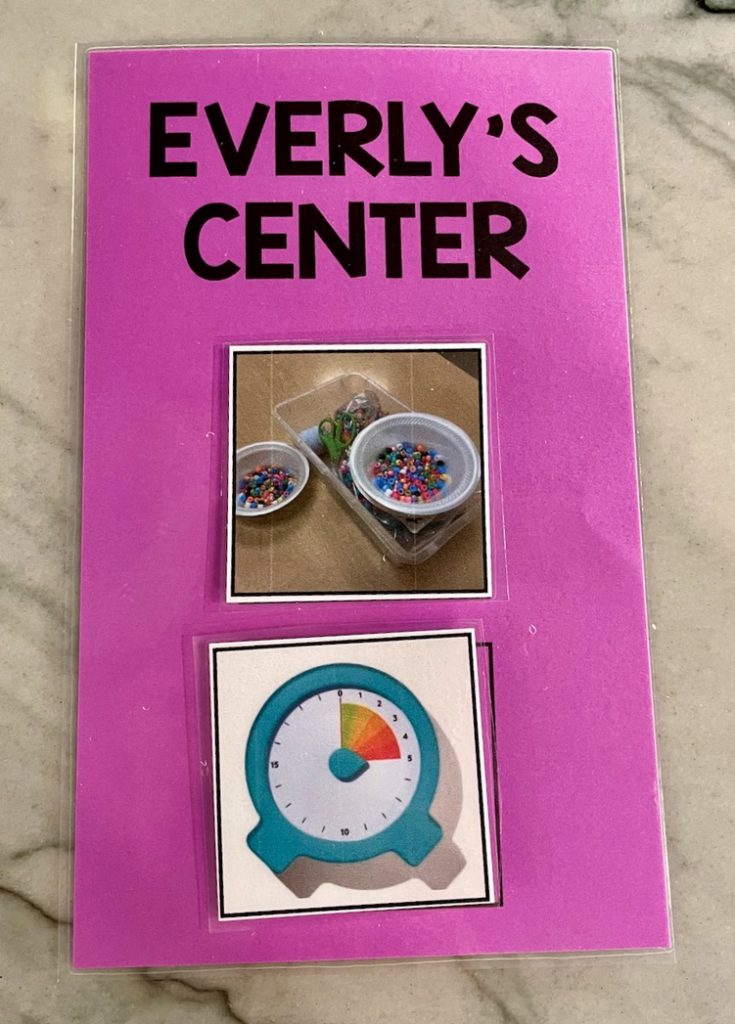
It sticks to the back of the folder with velcro. It makes it a lot easier to change out than printing direclty on the paper!
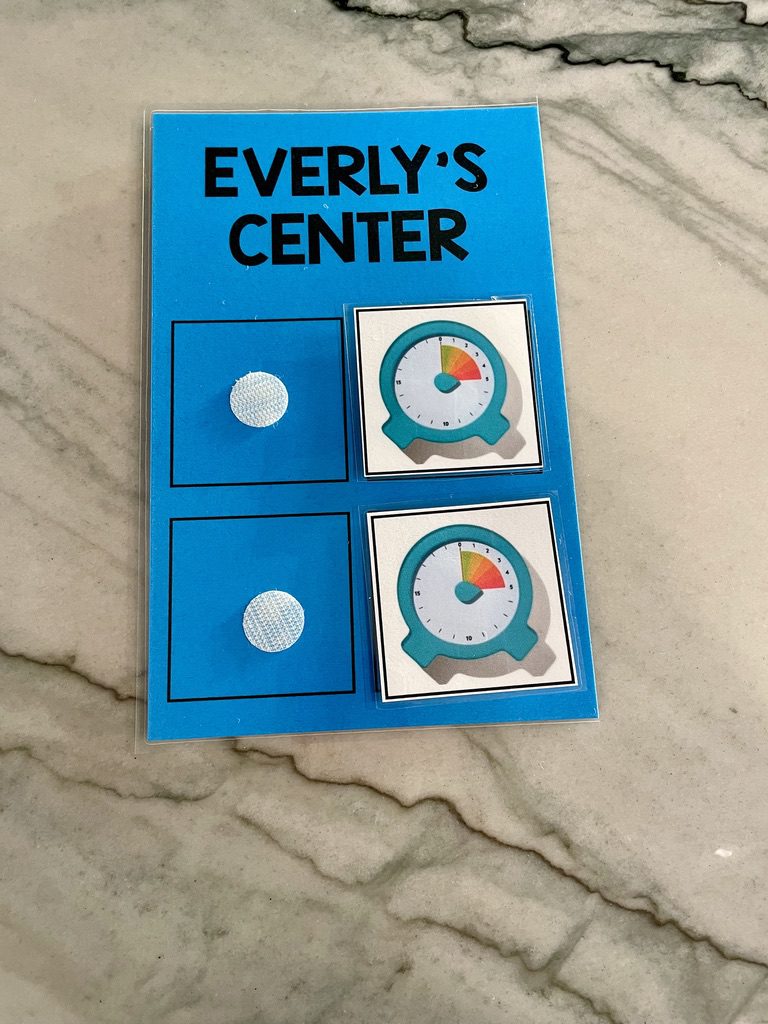
For a student who’s ready to chose 2 centers, their card could look like this.
Finally, some kids might be able to choose 3 centers at once. I made enough timer cards so that they could have one for each center rotation.
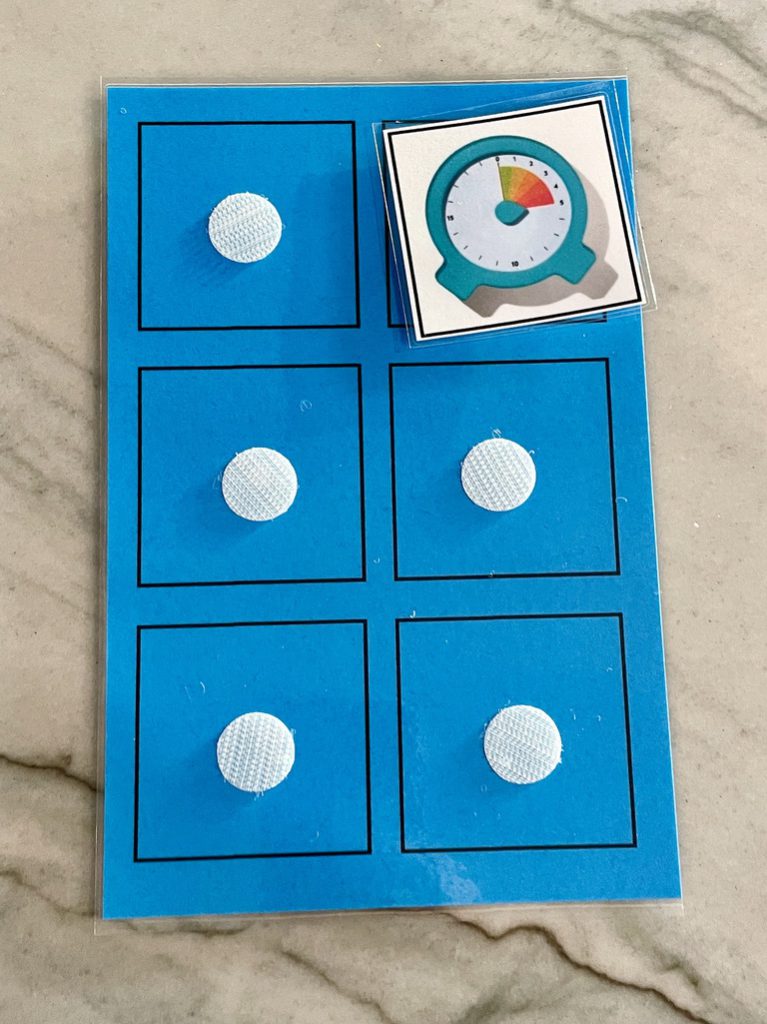
You can store the extra cards inside the “folder” by stapling another strip of cardstock. Just staple on the sides and the bottom!
You can super easily make this template in Powerpoint, Publisher, Keynote, etc! If you’d like to use the same template as me, you can download it below! I like to use the font KG Blank Space Solid. It is very easy to read, especially in capital letters.
Happy teaching! ?